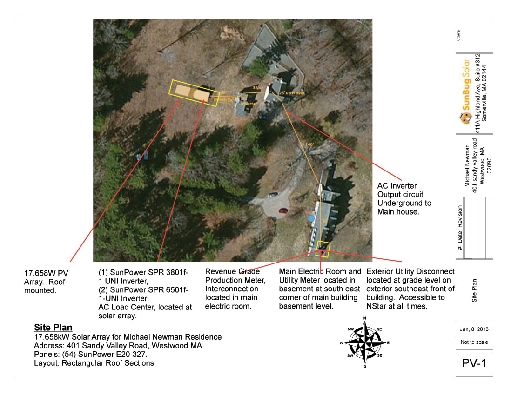
This site plan shows where the panels are located and how the power is routed back to the power feed at the south east end of the house.
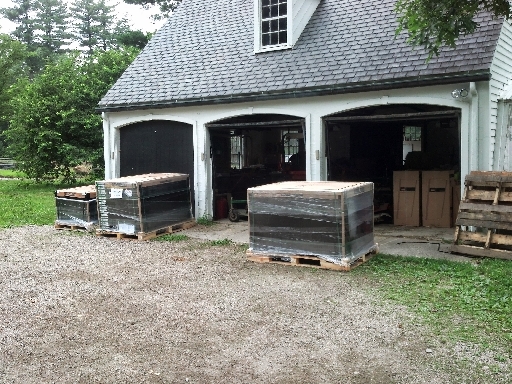
The solar panels and inverters (in the rightmost garage) were delivered a few weeks prior to the start of the installation.
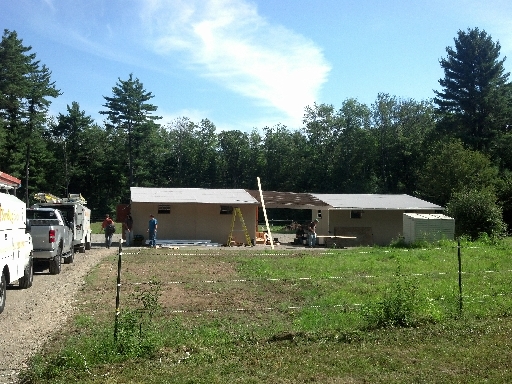
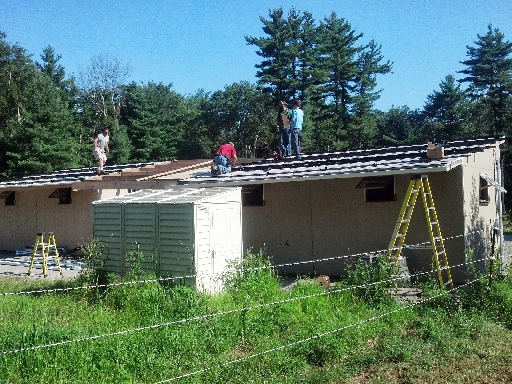
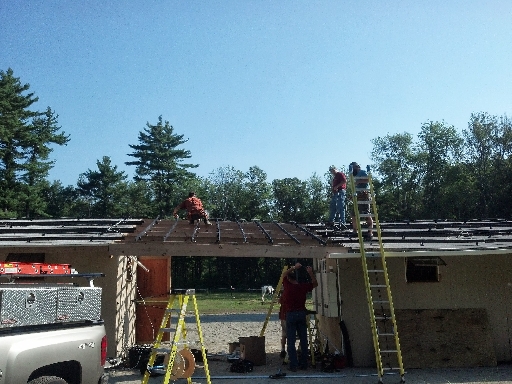
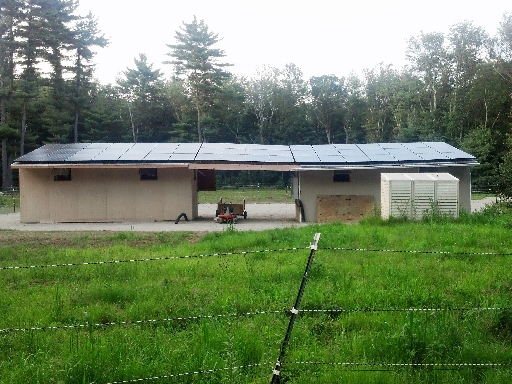
The 54 panels go on the roofs of these two sheds and across the breezeway between them.
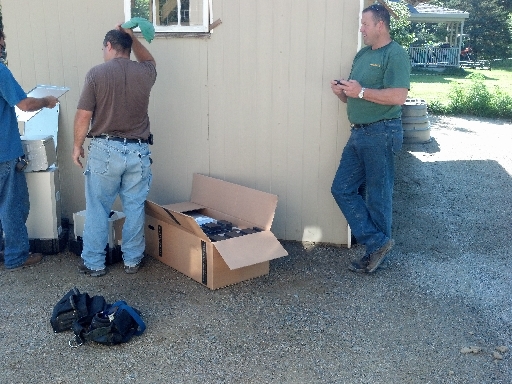
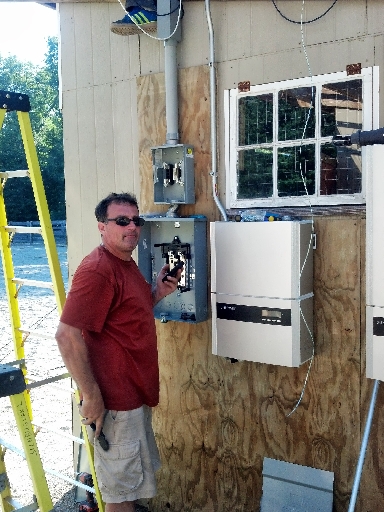
Patrick is considering how to mount the inverters. They will go somewhere on this wall of the eastern stall.
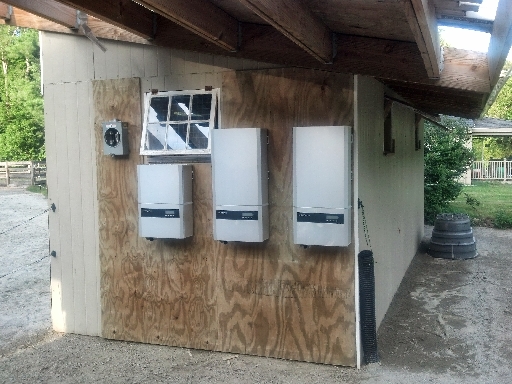
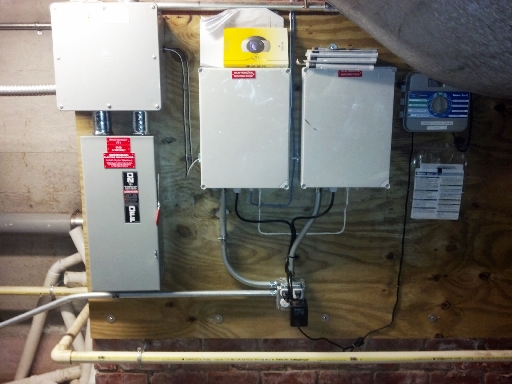
Inverters and meters go on the wall of the building.
Inverters and meters being installed.
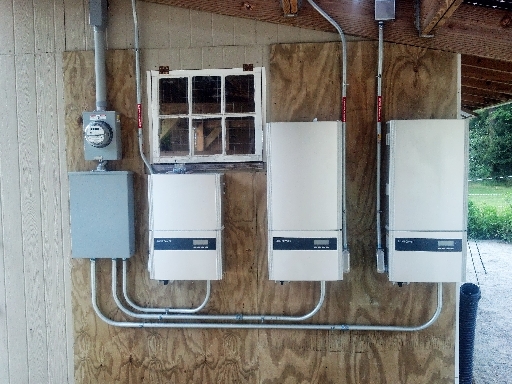
Inverters, breaker box and the solar meter are now completed.
On the second day racking is installed on the second stall roof. The racking is also adjusted so the panels will butt to each other on the three planes, west stall, breezeway and east stall.
Racking is completed.
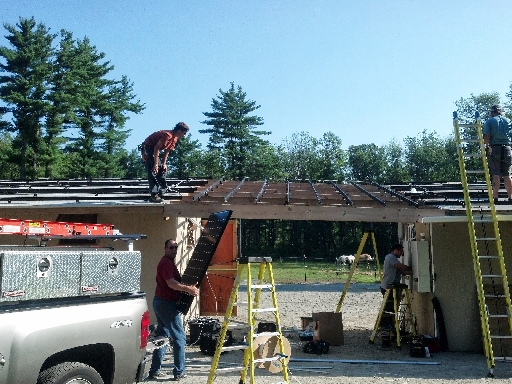
The first panel goes up on the morning of day 3.
... and gets clamped in place.
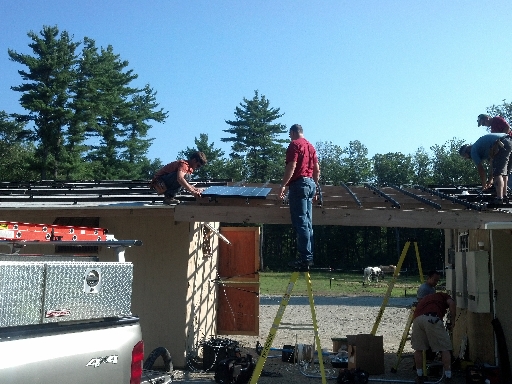
Only a few panels left to go.
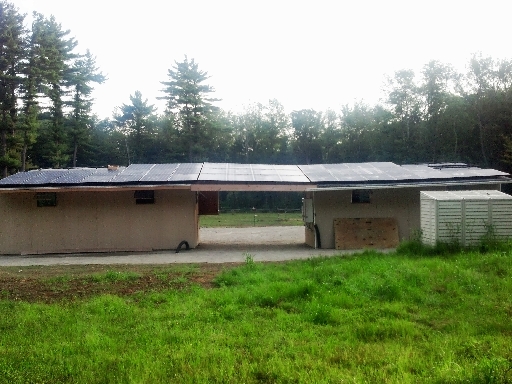
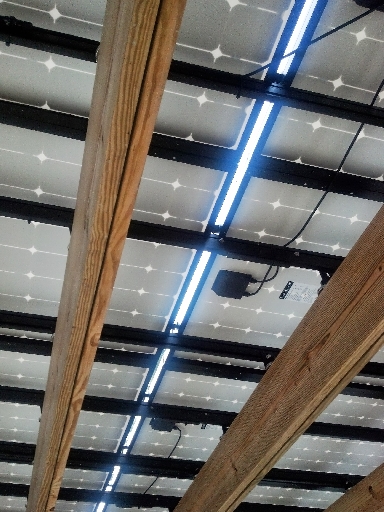
Panels on the breezeway. The plan is to tape over the gaps to make a rain proof roof.
The completed solar array. Now on to the wiring.
Solar production goes over the top of the stalls to the cottage and then to the garage.
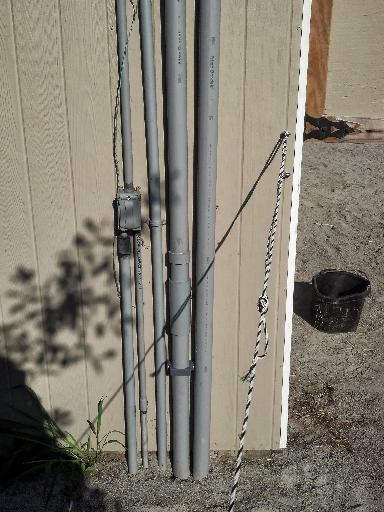
Solar production goes down one of these conduits to the cottage. The smaller conduit carries 110 for the stalls in one conduit and internet for the solar in another. There is a spare 2 inch conduit.
This conduit runs from the cottage to the garage. This is the cottage end. It carries the the electrical circuits for the cottage as well as the solar production circuits.
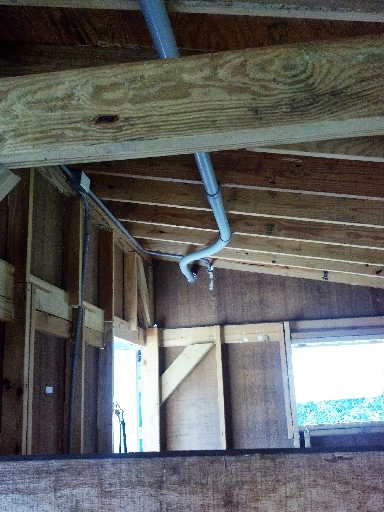
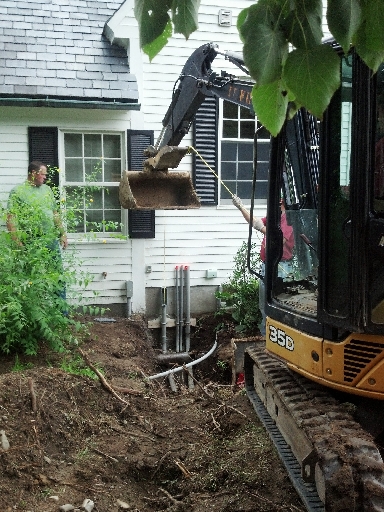
Here is where the Solar wiring and power from the cottage comes up in the rear of the garage. From here the conduit will go over the ceiling to the front of the garage.
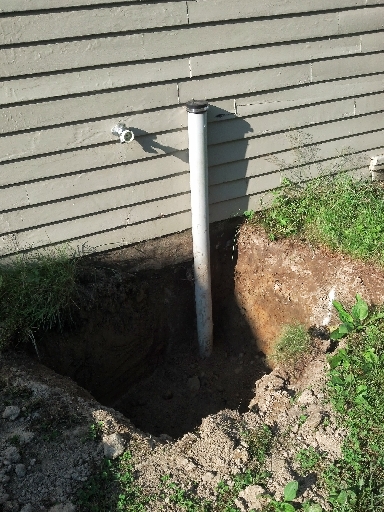
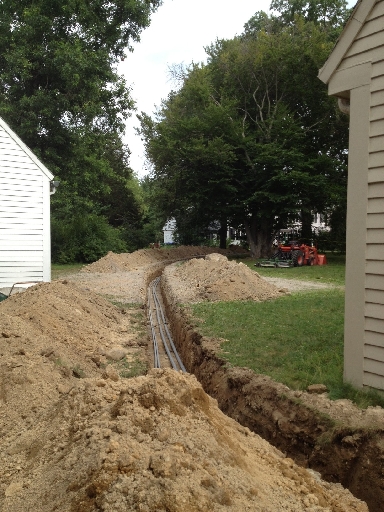
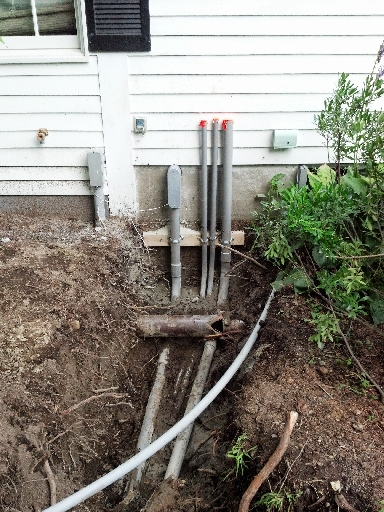
Once we were comitted to a trench for the solar feed to the house one conduit was put in for the solar power and three spares were put in to support network, phone etc. Here the lines meet the house.
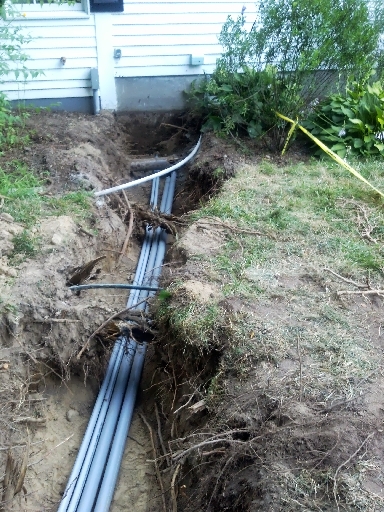
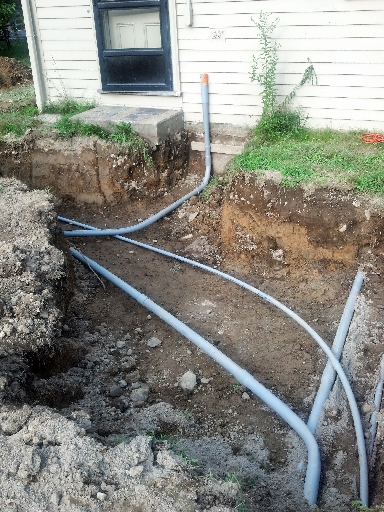
Turning around you can see the lines running down the driveway to the cottage.
They go around the corner to the back side of the cottage.
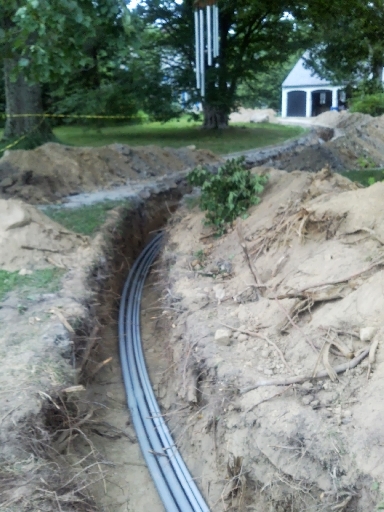
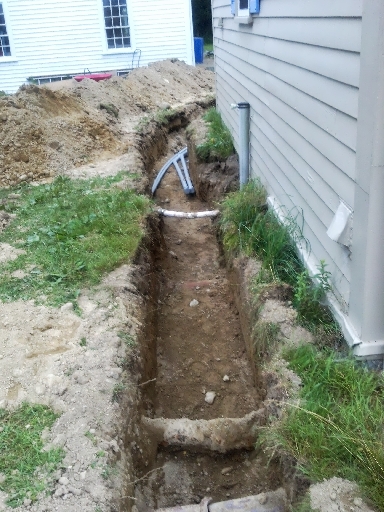
View back from the cottage toward the house. The trench got filled the morning after.
The original plan was to use the 3 inch conduit aready installed for the electirc feed to the cottage and for the solar. Now that conduit will only be used for the cottage power.
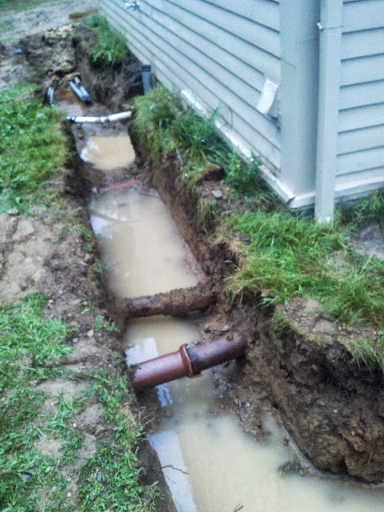
A day later a foot of rain fell and the open portions of the trench got a bunch of water. Note the perimeter drain from the cottage. Also note the clay basement drain and the white sump drain. Not sure were these come out. We suspect that the sump drain is interrupted by the sewer line.
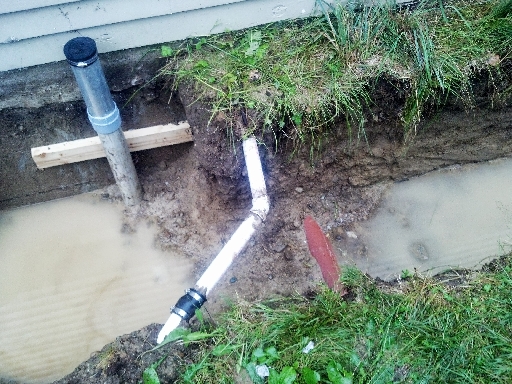
A better view of the power conduit and drains.
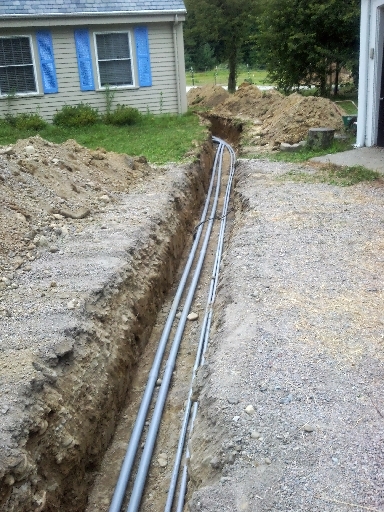
Three spares run back to the house.
Three spares arrive at the house.
Behind the cottage. (Spares at the right.)
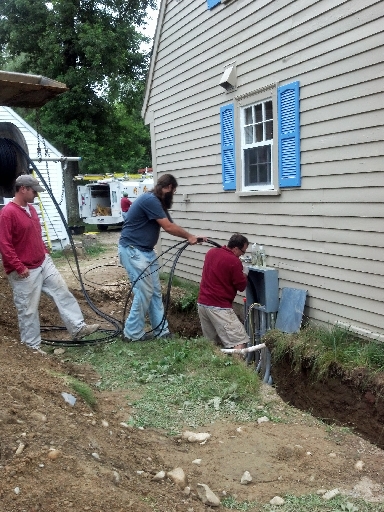
Feeding the power run.
Pulling the power run at the house end.
Meters and power control near the electric meter in the house basement.
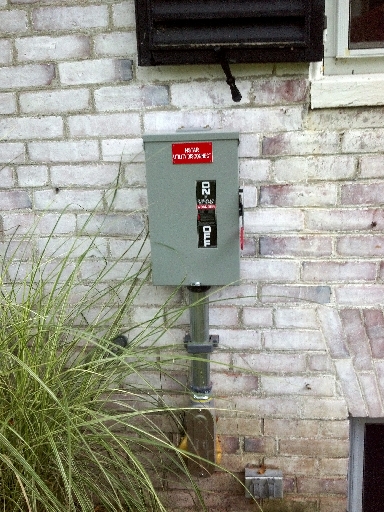
Power company cutoff outside the rear of the house.
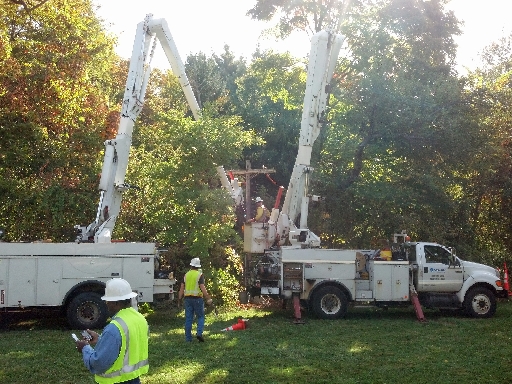
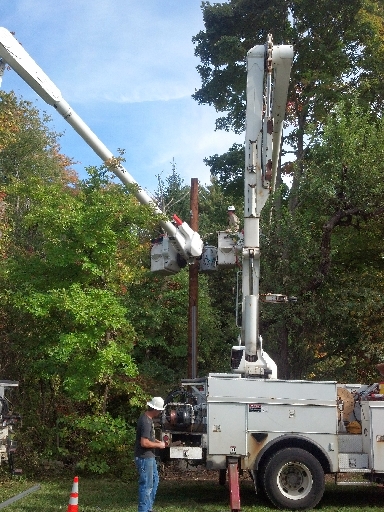
The crew from NSTAR dismounting gear from the old pole.
Bringing in the new Pole.
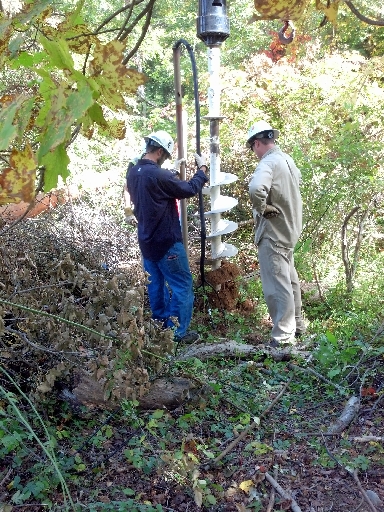
The old hole was not deep enough or wide enough for the new pole.
Lots of rocks in the hole forced opening the hole the good old fashioned way.
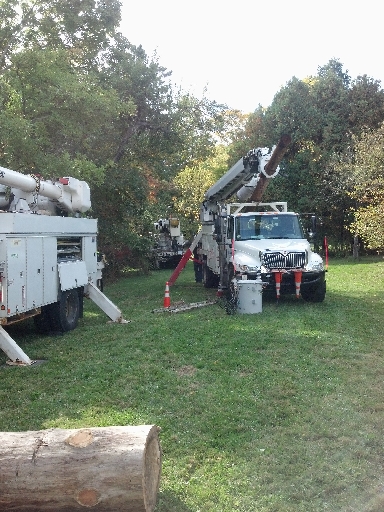
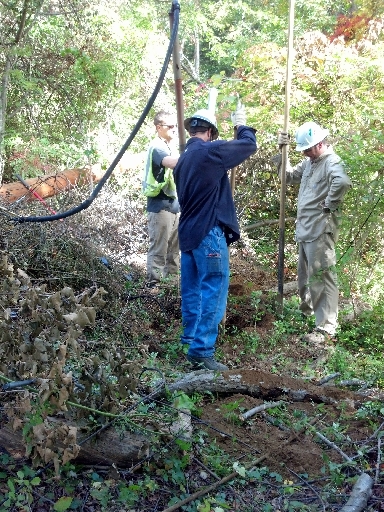
Setting the new pole.
Hanging and wiring the transformer.
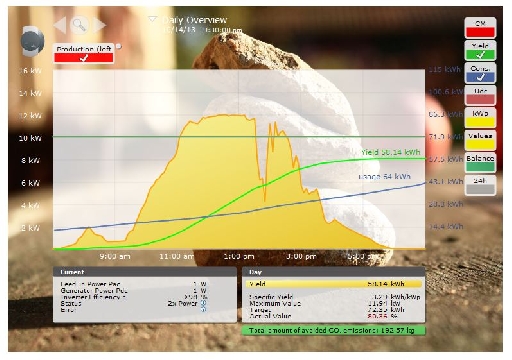
Log of solar generation from 14 October 2013.
Other photos taken at the same time that these photos were taken can be found in the directories that these photos came from. The photos in this story came from the following directories:
bydate/2013q3q4
bydate/2013q1q2
|